A friend of mine was making a lovely cottage and it made me want to do my own house.
This is the start of my first dolls house, I've never done one before and I've been reading up on hints and tips and what people generally use on there houses.
The house i have is part built house and you just have to screw it all together, the windows are already glued on.
I read that it is best to do a dry build on the house first by using masking tape to stick the parts together, this is a good idea as you get a feel for the size of the house and where everything goes.
The picture below is the basement section of the house, its taped up with masking tape and i decided to put a few bits of furniture in just to see where i might want things, this also helps with deciding where you want to put your lights.
Once i decided where i wanted things i stripped the basement back down and painted it all with white emulsion paint. I would never of thought of using this paint but it seems to be what everyone uses, i guess it doesn't really matter as it is only used to seal the MDF the house is made of.
I made sure to mask all the windows off first as i decided i wanted to stain them with some wood stain.
After seeing some really good houses and some of the different finishes people had use i decided i wanted to use a stencil to do brick work on the outside of the house.
I decided on a stone finish instead of a normal brick finish, you get a brick compound that you mix with water and then you use craft mount spray to stick the stencil on to the house temporary. Before this though you have to paint the house whatever you would want the cement/mortar to be.
I decided i wanted the house to be quite dark in appearance so used a dark slate coloured emulsion paint and i picked the slate coloured brick compound to as it comes in 3 other colours.
This is the stencil pattern you spread the compound on and then peel back the stencil and it leaves the gaps for the cement.
You can see here the compound is drying lighter.
First side wall of the basement complete.
Close up of the compound.
There are lots of realistic products you can get for your dolls house i was quite amazed at first as to what you could get, the first thing that caught my eye was the real flooring's that you could get.
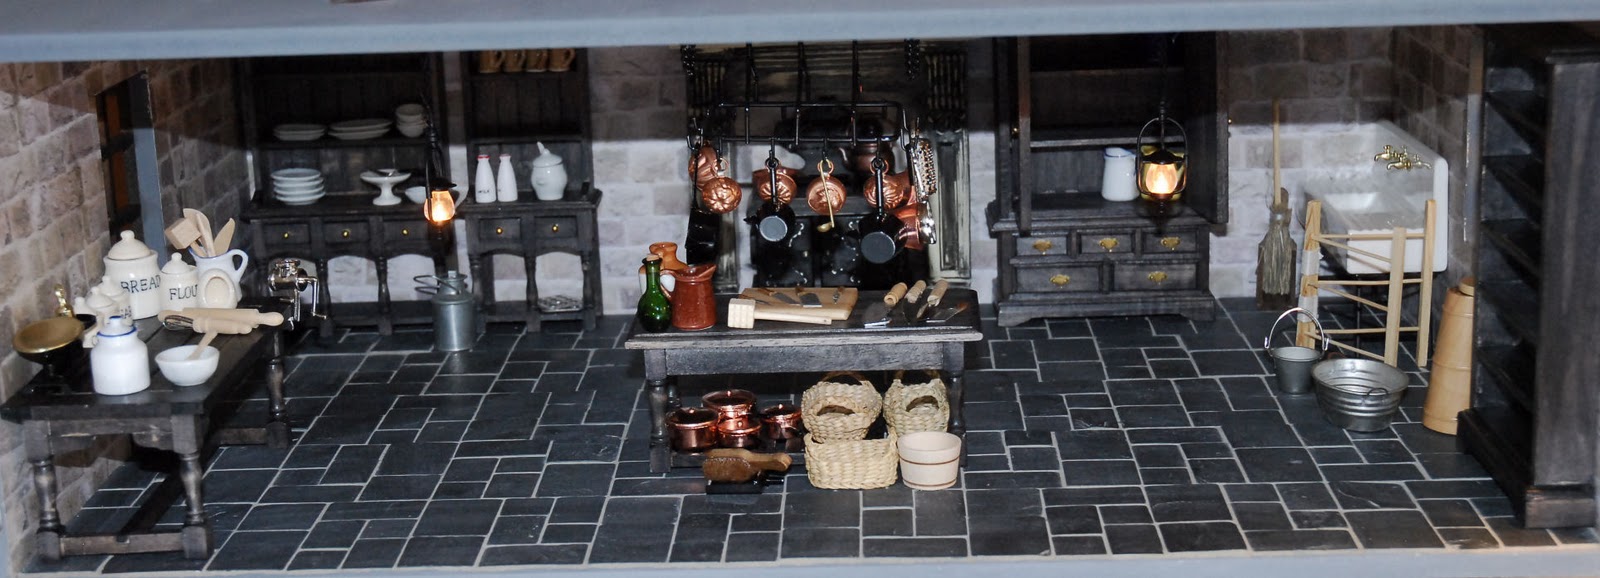
I'd already decided that i wanted my basement to be a kitchen/laundry room and wanted to go for a realistic floor. I was pointed in the direction of real floor tiles and instantly knew i wanted a real slate floor.
The tiles that i bought came in a random selection of sizes which i thought would make it more difficult to lay but i soon realised once I'd worked out a pattern with them that it was pretty easy to figure out.
I used contact adhesive to stick down the tiles in the pattern that i wanted, making sure to leave a gap in between each tile so that they could be grouted at the end.
I continued the process for the entire floor until the tiles were all stuck down.
Next step to grout the whole floor and fill in all the gaps.
I was really impressed with the finished floor after grouting, the tiles in the above picture have been wiped down with a damp cloth just so you can see the grouting in between.
Above is the completed flooring :)
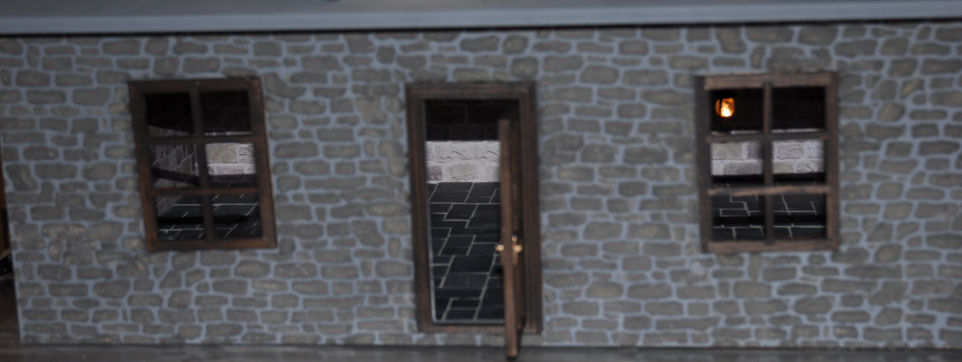
Next i finished off the outside stenciling .
As you can see in the picture i have stained the window frames in medium oak, I've decided that i hate the stain colour and they need to be a lot darker. I've ordered some stain in ebony now to do them with and I'm hoping it turns out better.
Windows are now re stained and look a lot better to me now, I'm happy with them.
Front of the basement complete.
Next step i wallpapered the insides of the basement, i used one called country cottage which is a stone effect paper.
Close up on the door, tiny keys hanging on the inside.
I put all the wallpaper on before i assembled the basement so that the edges were trapped in to the joints of the house which i think made it look alot neater.
All the walls papered and assembled.
Next i had to work out where i wanted my lights to go. I picked out some oil lamp look lights from the dolls house emporium.
This is what they look like up close.
Because the basement isn't very high i chose to put one at each side so that when dolls were in there they were able to move around them and the kitchen to still function properly.
I used a small hand drill to drill out the holes in the ceiling and on the top of the roof i dug out two channels to run the wires through, so that when the house is on top it does not crush them.
First light in place, just need to do the other side now.
Both lights are now fitted.
Next i attached the roof and glued it all down.
For christmas i got lots of furniture, it was all unfinished because i wanted to stain it myself.
As its a basement it would most probably be damp and dark so the furniture should be to. I used the same ebony wood stain on all my furniture and i think it came up lovely.
Stove in place.
I bought some candle sticks that light up just to give it some more light towards the back.
Well i wasn't going to use this piece but now i have decided i want to, not sure what to call it but it makes the basement below street level, so i guess it's like the pavment bit outside.
Adding cobble stones to the outside.


 First thing i did was to masking tape the house together then i drew around the edge of the floor so i knew where to lay the flooring up to. The flooring type is the iron on stuff, you just have to cut it to the right size and then iron it on making sure that it is pushed up tight to the other boards so there is no gap.
 this is the flooring all layered, it hasn't been stained yet.
 This is the floor once i waxed it, it was a dark oak wax. I also marked the boards every so on to make the floor boards more realistic.

 I decided to stain all the wood work the same, the doors, windows, window frames, skirting board, dado and coving and even the garden gate.
 I undercoated the house white to seal it.
  I decided to fit outside lights so i had to drill holes in the front and cut channels in the inside to run the wries through.
  The wire fits in to the channel.
  I put masking tape over the wires to keep them in place.
  My outside lights.
 I stenciled the garden wall inside and outside.
 Lights are in place, the house is still not glued together.
 I've decided to make a chimney breast to attach my fireplace to, i've built this out of bass wood.
 The fireplace will sit on the front of it.